Saturday, January 25, 2014

Household Fixes with The Best Glue Ever!!!

Hello! Chelsea here to share another household fix that can be done using the Best Glue Ever. Michelle shared with us last week how she used the Best Glue Ever to fix her Christmas ornament which you can find here.

The Best Glue Ever is truly that, a glue that we can use for many different projects or fixes. The project we do not recommend using Best Glue Ever is on glass. Can you believe that the BGE is strong enough to fix plastic, wood and metal objects? Let alone it is gentle enough on paper projects that it does not bubble, or wrinkle your paper?  Amazing if you ask me!!!

Today I like to share a fix that I did with my FAVORITE make-up brushes in which I was disappointed broke on me. Though I had the Best Glue Ever to the rescue! 

Supplies Needed :
Object for fixing
Release Paper (backing sheets from labels or stickers)


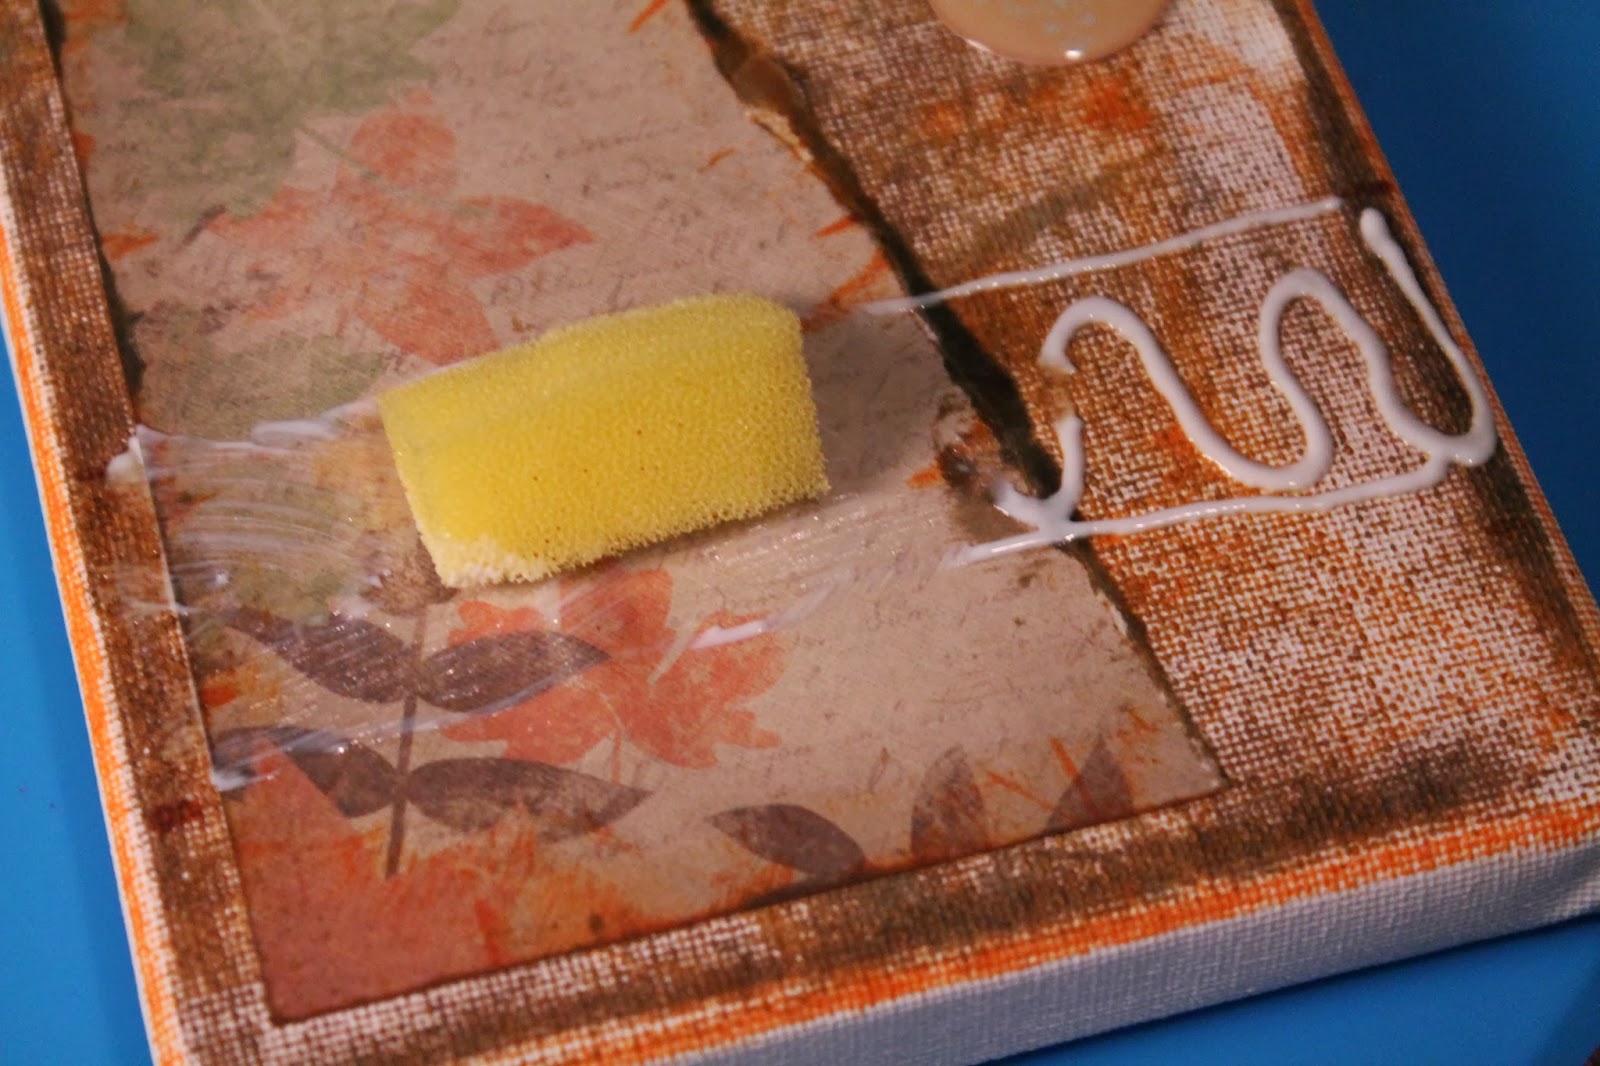
First, apply a layer of Best Glue Ever around the edge and top of the handle. Using your release paper, place your glued handles to dry. The release paper allows the glue not to stick to anything and will peel off once dried to clear.


Let this dry to CLEAR. This is very important that you let this dry as the Best Glue Ever works best when its clear and tacky vs white and wet.

Here are some progress images from the time I put it on, appox 5 minutes later (you will see in the second photo how some areas still have some white glue) to the clear and tacky stage. In total I waited appox. 8 minutes for this to totally dry clear.


Assemble your pieces together.


Wasn't that easy? In 10-12 minutes your object is fully fixed!! 


What about you ScraPerfect fans, what have you fixed with the Best Glue Ever? Leave us a comment letting us know what you have used with the BGE, we would love to hear!

Happy Weekend!

Friday, January 3, 2014

Transformation of White Cardstock (or Patterned Papers) with Bling!!!

Good Morning! Chelsea here, I am super excited to kick start my first project of 2014 here at the ScraPerfect blog.

Before we get started you will need the following items:

-White Card Stock**
- Digital Paper Options
The Best Glue Ever
Embellie Gellie
Perfect Crafting Pouch
-Glitter / Embellishments (gems, dew drops, etc...)

(**This technique can also be completed using traditional patterned scrapbook paper!)

Today's project idea is turning white cardstock into dazzling embellished paper in a snap! It is fun, easy and affordable!

TIP : When printing digital paper it is best to prepare your paper/cardstock/vellum using the Perfect Crafting Pouch to ensure your ink is vibrant and won't smudge or bleed while printing. Using your Perfect Crafting Pouch, rub over the paper surface evenly before printing. 


Applying Glitter / Embellishments (gems, dew drops, etc.)

Step 1: Choose your paper (digital or traditional)

Step 2: Apply the BGE where you would like to add your glitter and/or embellishments


Step 3: Let the BGE dry CLEAR. Now apply your favorite glitter and/or embellishments.


To attach the embellishments I am using Embellie Gellie by ScraPerfect. It's easy to pick up and apply those gems and small embellishments with this quick pick up tool. If you plan to use glitter use your Perfect Crafting Pouch to prepare your paper first.

**NOTE** : If you are using gems, dew drops or other small embellishments it is best to pre-cut your paper to the size of your project as you won't be able to cut through your embellishment components after. This does not apply when you use glitter; most paper trimmers cut glitter paper with ease.

Creating your own embellished paper is as easy as 1, 2, 3!!! Mix and match with glitter and embellishments to create deluxe paper creations!

SAMPLES of Embellished Paper 

Thanks for stopping by the ScraPerfect blog, and Happy New Year!

Saturday, November 23, 2013

Best Buds for Paper Piecing : Best Glue Ever & Embellie Gellie

Good Morning ! Chelsea here this morning. I would like to talk to you about paper piecing with the Best Glue Ever and Embellie Gellie. Two products that make paper piecing a breeze!!! 

3 simple supplies is all that is required: 

-Best Glue Ever - ScraPerfect
-Embellie Gellie - ScraPerfect
- Paper Piecing Project


I would like to point out a few tips when paper piecing. To begin, you only need a SMALL amount of BGE for the paper pieces to adhere to each other. It dries instantly. Something to note is if you lay your glue down right away while it is still white, you have a small amount of "play" before you won't be able to move the piece. If you wait for your glue to go clear; in the tacky stage these pieces WILL stick together instantly. You will not be able to pull it apart or slide the pieces into place. When paper piecing, I recommend to adhere your pieces while the glue is still wet (white) so that you can line it up exactly the way you want it. 

Regardless if it is a tiny piece or a large piece the amount of glue stays the same. As you see on the yellow, I have only placed a thin line of glue on the outside of my project piece. I haven't put any glue in the middle. This thin layer of BGE WILL adhere the entire piece to the base of my paper piecing ; AMAZING isn't it!!!


Now lets talk about the Embellie Gellie - an extremely useful tool when needing to pick up small parts for paper piecing. Your fingers stay out of the way and don't become all sticky from trying to place those tiny pieces of paper to your project. 

I have tested how small and large pieces of card stock need to be for the Embellie Gellie to pick up. I was actually quite surprised at my results :

First these TINY buttons 

Second, medium sized solid pieces

Third, medium sized, delicate and not much to grip onto pieces

Fourth, LARGE pieces such as the hat for the minon. This impressed me the most because I never thought it could pick up and hold a large piece like this. I even twirled the Embellie Gellie around several time and the hat never fell off it. Strong hold but easy release! 

A brief tip that I came across while working with paper piecing is that the opposite end of the Embellie Gellie (flat end) is perfect for pressing down your pieces to ensure FULL contact is made with one another. It also allows you to flatten out the pieces that you are placing and building on top of each other. 


Using both the Best Glue Ever, and the Embellie Gellie made this project simple and quick to put together ; especially when I made 24 of them! These are some helpful tips on how to paper piece using these 2 products from ScraPerfect. 

Finished paper piece project!

Thansk for stopping by the ScraPerfect blog! 


Wednesday, November 13, 2013

Tip : Best Cleaner Ever & Eyes

Good Morning! Chelsea here this morning to discuss about The Best Cleaner Ever and how safe it is around eyes! 

I know it's hard to believe that a cleaner that dissolves spray paint , inks , adhesive, etc can be gentle enough near or in the eyes. It is not recommended to get any products in or around eyes because of the sensitivity of our eye but if an accident occurs DO NOT PANIC.

I would like to share an experience I had a few weeks ago where I accidentally sprayed the cleaner in my eye as I was replacing the cap on my bottle. 

I was not paying attention to how I was placing the cap on my bottle of Best Cleaner Ever, and all of a sudden I pressed the cap into place and received a full spray of the liquid in my eye.  Once I realized what had happened I went straight to flush my eye out several times. I checked the bottle and it does say "Keep out of eyes".  (In fact that's the only health warning on the bottle!) Once I felt it was flushed enough I emailed the Owner/Creator Amy in regards to if this had ever been experienced before -- and she had not heard if someone ever got the product in their eye. I am happy to report that this product DID NOT irritate my eye in any manner ; redness, irritation, stinging, blurriness, etc. It simply blows me away that a solvent such as Best Cleaner Ever can dissolve just about anything but it did not harm my eye and is gentle for all parts of our body. 

Once again, it is not recommended to get the product in the eye but if you in the future ever experience a situation like mine do not panic. Flush it thoroughly(get medical treatment if necessary)--but from my experience this product was harmless!!!!

Thanks for stopping by the blog, if you have any further questions please leave a comment below! 

Sunday, November 3, 2013

Home Decor - Thanksgiving (US)

Hello Chelsea here with a home decor project for your Thanksgiving table using The Best Glue EverEmbellie Gellie and The Perfect Crafting Pouch from ScraPerfect!

Supplies Needed :

- Canvas (purchased at Dollar store)
- Ink - Tim Holtz Destress Inks
- Vellum - Recollection
- Ribbon - 1.5" Brown Ribbed
-Stickers - Creative Memories Thanksgiving
- Thanksgiving Pattern Paper - Creative Memories Collection
- Leafs/Flowers
- Rhinestones 
The Best Glue Ever - ScraPerfect
Embellie Gellie - ScraPerfect
The Perfect Crafting Pouch - ScraPerfect


I would like to highlight  in this post how to ink the canvas, attach ribbon and how I created the vellum sentiment.

I started off using 2 Tim Hotlz detress inks (but you could use any inks - I found blending 2 colors with Tim Hotlz inks blend well.)


Attaching ribbon to projects is made easy thanks to The Best Glue Ever. It is not best to apply the wet glue directly to the ribbon due to the glue seeping into the fibers which leaves a wet look once dried. (I know this because it was the first way I did it and realized this wet mark and had to do it over). Apply the glue to the item in which the ribbon is being adhered to ie the canvas and using a sponge spread the glue evenly - DON'T FORGET THE SIDES OF THE CANVAS. Let the glue dry clear in which it will be SUPER tacky for the ribbon to adhere to OR you can create glue spots / lines shown in this video with the Best Glue Ever to attach to your project. This method is also used for attaching the leaves in the top left hand corner and flowers on the ribbon.


The next set of photos will describe the steps for creating the vellum sentiment. 


The pattern paper, blessings sentiment, and stickers were all attached using the Best Glue Ever. A reminder that not all stickers have a great adhesive and usually falls off. The Best Glue Ever will adhere your stickers to all materials. If it wasn't for Best Glue Ever I don't know how I would attach them to canvas!

Thanks for coming by, see you next time!